Wood Stove Installation: How to Install a Wood Stove
 "Wood Stove Installation: How to Install a Wood Stove")
As the air outside gets cooler with the coming season, you may be thinking about ways to heat your home this winter that are energy- and cost-efficient. A wood stove can be both! Wood stoves offer an affordable way to heat your home or cottage in the winter, look great, and also provide a place to cook fantastic meals (mmm wood stove pizzas). Unless you are very handy, we would recommend hiring a professional to take care of the wood stove installation process, however, we'll show you how to install a wood stove, and you can make an informed decision from there!
Step 1: Find a Great Location for Your Wood Stove
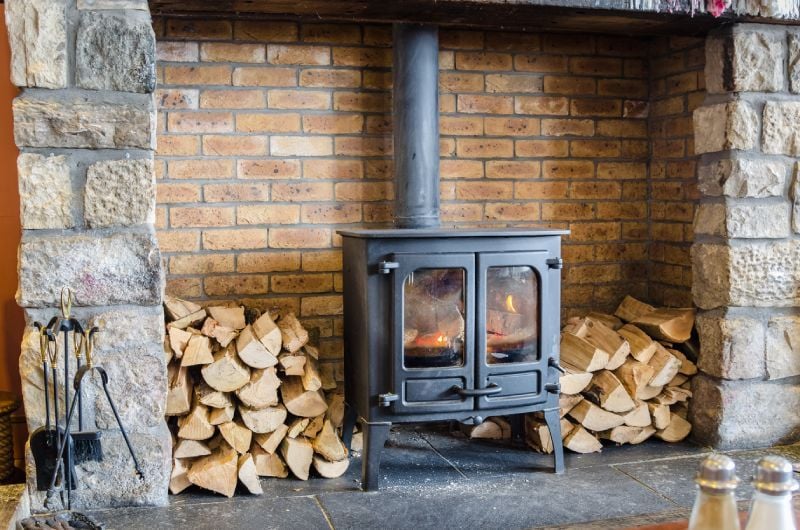
Finding a good spot for a new wood stove in your home is not just about where it may look the best. The most important thing when getting started on your wood stove installation is ensuring it is away from anything combustible, including flammable flooring, walls, and furniture. You also don't want it to be too close to furniture and may not want to sit too close, because of how hot the stove gets. You should also think about its purpose when choosing a location. If you're installing a wood stove to heat your home, make sure you choose a central location on the ground floor, so it can heat nearby rooms. Remember that heat rises, so the bottom floor is best for allowing the heat to move up to any upper levels of your home. One last consideration when deciding on the best location for a wood stove, is making sure you have the space for the stove, as well as wood and the stove tools you'll need. It may be beneficial to also place it close to an exit, so it's easier to get more wood from outside when needed.
Step 2: Securing the Surrounding Areas
In addition to making sure there is enough space for your wood stove installation, you'll likely need to install fire-resistant flooring if you've chosen a spot without any. You can install concrete slabs, prefabricated stove boards, or ceramic tile under the stove, and may also want to install sheet metal on the surrounding walls. The wood stove should be installed at least 25 centimetres away from non-combustible walls and 75 centimetres away from combustible ones.
Step 3: Installing a Chimney for your Wood Stove
When thinking about how to install a wood stove chimney through the roof of your home, it's best to have a straight, vertical chimney. Limiting the number of bends in the chimney and making sure to use an insulated high-temperature pipe are key to this process. Finally, you'll want to cap the top to keep animals and birds out.
Step 4: Make Plans for Regular Maintenance
Once you have a plan in place for where you'll keep your wood inside and outside, and what to do with the ashes that the stove produces, make a plan for regular maintenance of your wood stove and chimney cleaning. It is important to clean the inside of the wood stove every few weeks depending on how much you use it, and the chimney needs to be cleaned once per year. For more information about how to clean a wood stove and chimney, find our blog here.
Are you thinking about installing a wood stove? Contact Northern Cookstoves to learn more about installing a wood stove in your home or cottage this year!
| Tags:News |
